How To Make A Mickey Mouse Snowflake – A trip to Disneyland is such a magical time. There is so much to enjoy while you are there with your family. The adrenalin-fueled and exhilarating rides, the Disney characters, and all of the fabulous entertainment, to mention a few things. So recreating some of those magical things at home could be something that you are hoping to achieve.
Children love a craft, don’t they? The chance to sit down and create something new and visually pleasing. No matter what age, you are bound to be able to get your little ones to sit down, relax and enjoy a crafting session. Anything Disneyland-related will always get the kids excited, especially if they are hoping to embrace the magic they experienced when they were there.
This is the perfect craft to make during the festive season. You will find the full craft process card below along with the printables that can be used. A great homemade gift option if you like to create these things for friends and family but also the perfect decoration to make any home feel that bit more festive. Decorate your house like a winter wonderland with everyone’s favourite mouse. So without further ado, here is everything that you need and the process to create your Mickey Snowflake Paper Craft.
Everything You need for the Mickey Mouse Snowflake Paper Craft
- Plenty of card
- Glue
- A colour printer
- Squares of tissue paper, any colour or theme, let the imagination run wild
- Pencil (optional)
- String
- Handheld hole punch
- scissors
How to make the Mickey Mouse Snowflake Paper Craft
Prep time – as long as it takes, there is no rush when it comes to crafts.
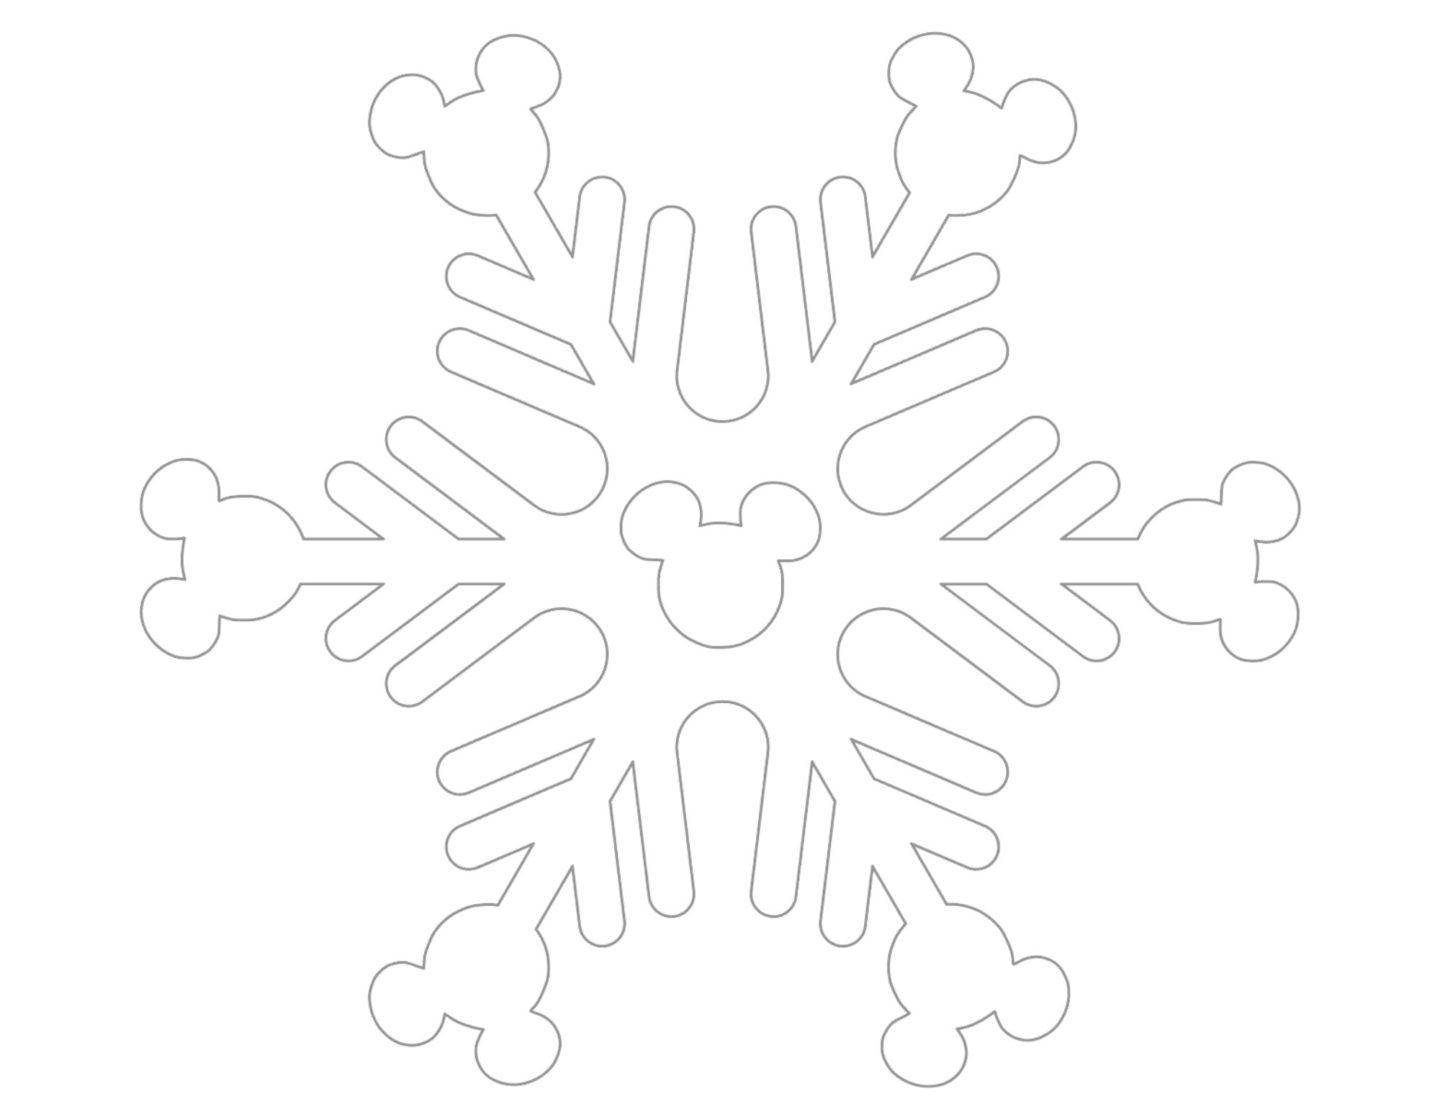
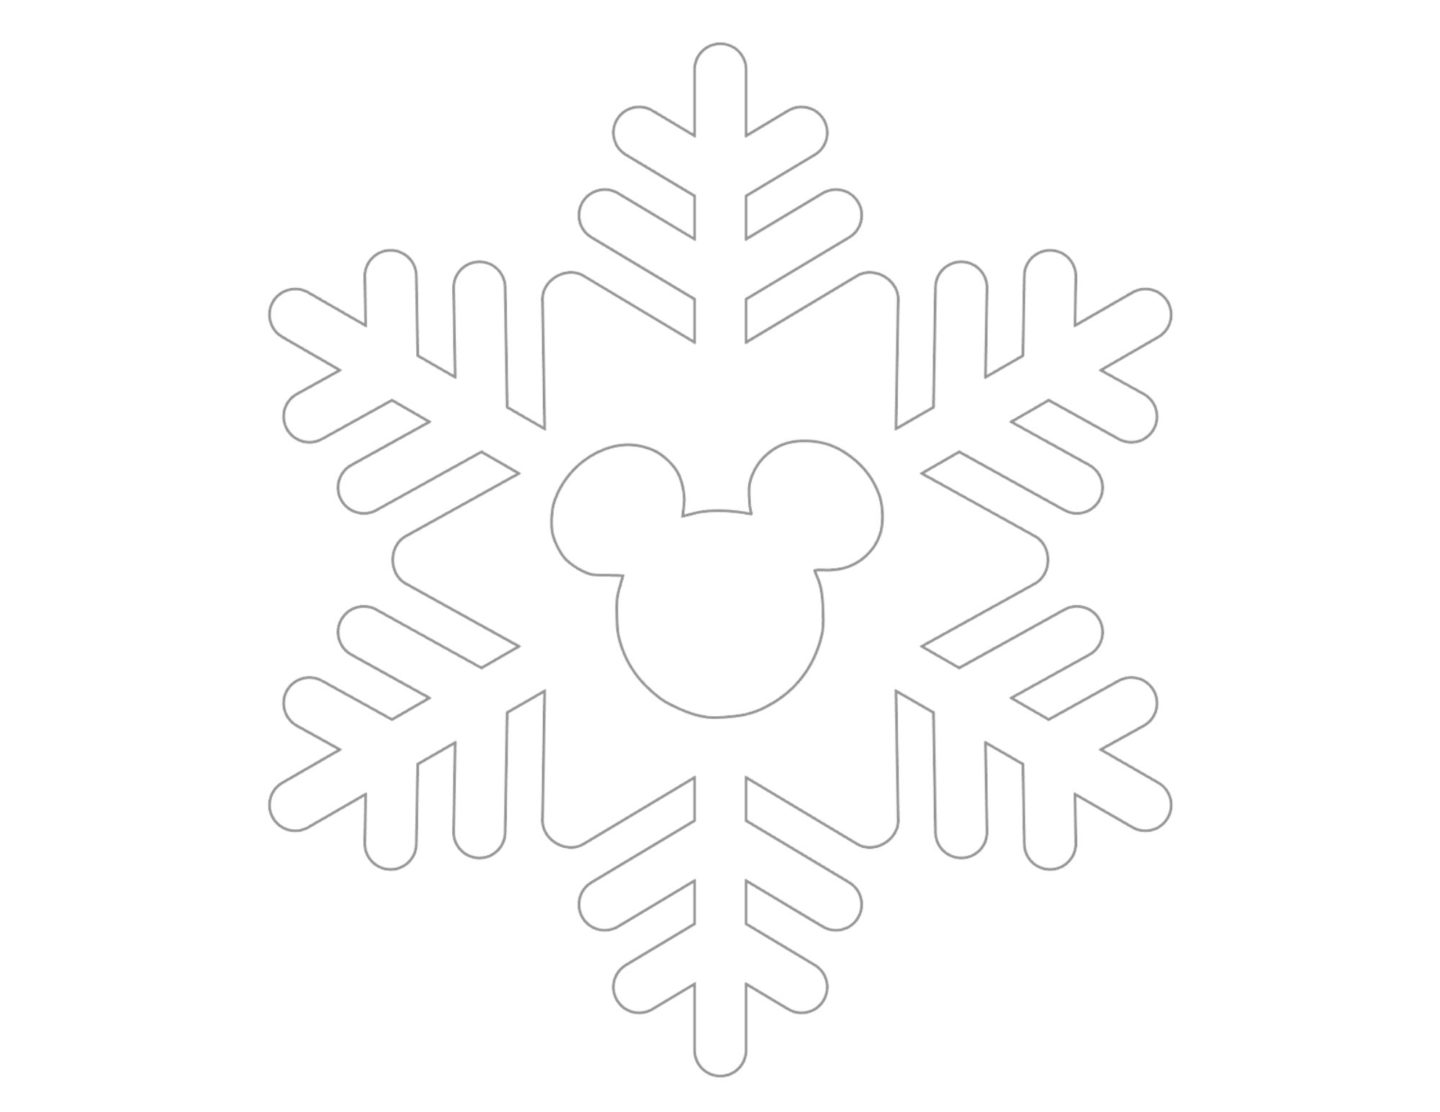
- Check out the printables that are shared below and choose which one. The print them out on the card you have ready.
- Now get some scissors, and cut out the shapes. If you have little ones with you then you may need to help with this part of the crafting process.
- Now here comes the fun part, get the squares of tissue paper and begin to cover the snowflake you have just cut out. You can do this in a number of ways. You can glue the squares onto the snowflake, and either wrap the ends around the edges or cut them away. For older kids, wrap the paper over the end of a pencil and then place it on the snowflake with the glue.
- Now let the snowflakes dry.
- Once the snowflakes are dry, punch a hole at the top.
- Tie the string around so that the snowflake can easily be hung. Then hang them around your kitchen, over a table, on your Christmas tree, or even in the window as a display.

Craft process notes and tips
A craft is always a perfect opportunity to spend some time with your children, or even just to occupy them so that they aren’t always going to technology to feel stimulated. However, while it may be a simple craft process to follow, it is always advisable to take on some extra notes and tips to get the most out of it.
- Make sure little ones are either supervised or helped with the scissors. If you can, now would be the ideal opportunity to invest in some kid-friendly ones that are a little safer to use.
- If little ones are doing this craft, it would be advisable to supervise them rather than leave them to it. They will be using things like glue, and without help, they might end up in a bit of a sticky situation.
- If you can, you could look to laminate these snowflakes once they are completed. Then they could be saved and used year after year. They will also keep really well to look back on years to come.
Variations to try
Like with any craft, the beauty is how you adapt it to suit you and if you don’t have some of the things that you need suggested above, then varying it is a great way to enjoy this craft. Here are some ideas:
- What if you don’t have any tissue paper? Not to worry. You could use paints, coloured pencils, and pens to enjoy this craft idea. The printable can be used however you want.
- Make it sparkle. If you really want to use the Mickey snowflake papercraft as a way of decorating your home then why not get the glitter out? It might be a little messier, but it could create some very effective-looking snowflakes for a window display or in any other part of your home.
- Make this craft part of other activities. Another suggestion would be to make this craft part of something else. Especially if you were hoping to get more creative. For example, head out for a walk with your little ones and collect leaves and sticks. Then stick them on the snowflakes along with painting them, the tissue paper suggestion, or even the glitter.
- Use them to decorate your tree. These snowflakes will also look very effective on the tree. Especially if you love anything homemade and already have a collection of homemade ornaments you use.
FAQs
We all have questions that we may need answering so here are a couple to help you.
What age range is this craft suitable for?
The best thing about the Mickey Mouse snowflake papercraft is that you can allow any age to give it a go. Older children will be able to handle the craft with very little parent input, but younger children will need help with the scissors and also might need to be shown what to do before you let them get on with it.
Is it a craft just for Christmas?
The truth is, as soon as the colder months start to set in, this craft will be a suitable one. You could change the colours and have a more autumnal theme to decorate your home in Autumn. As suggested with the variations above, you can really make this your own.
Hopefully, this will have encouraged you to give the Mickey Snowflake Paper Craft a try.